🦠 5 Mold Myths That Are Ruining Your Dog Treats (and How to Fix Them!)
The #1 Mistake That Could Ruin Your Dog Treats
You’ve just baked a batch of pumpkin-peanut butter dog bones. They smell amazing, your dog is glued to your side like a furry sous-chef, and you package them up with pride.
Fast forward a few days… you open one of the bags (or worse, your customer opens the bag) and — cue horror movie soundtrack — fuzzy green mold has claimed your beautiful treats.
This is heartbreak city for dog treat bakers. I’ve seen it too many times in my Dog Treat Bakers Facebook group. The problem? Most bakers aren’t skipping effort — they’re just falling for dangerous mold myths.
So let’s bust them, one by one.
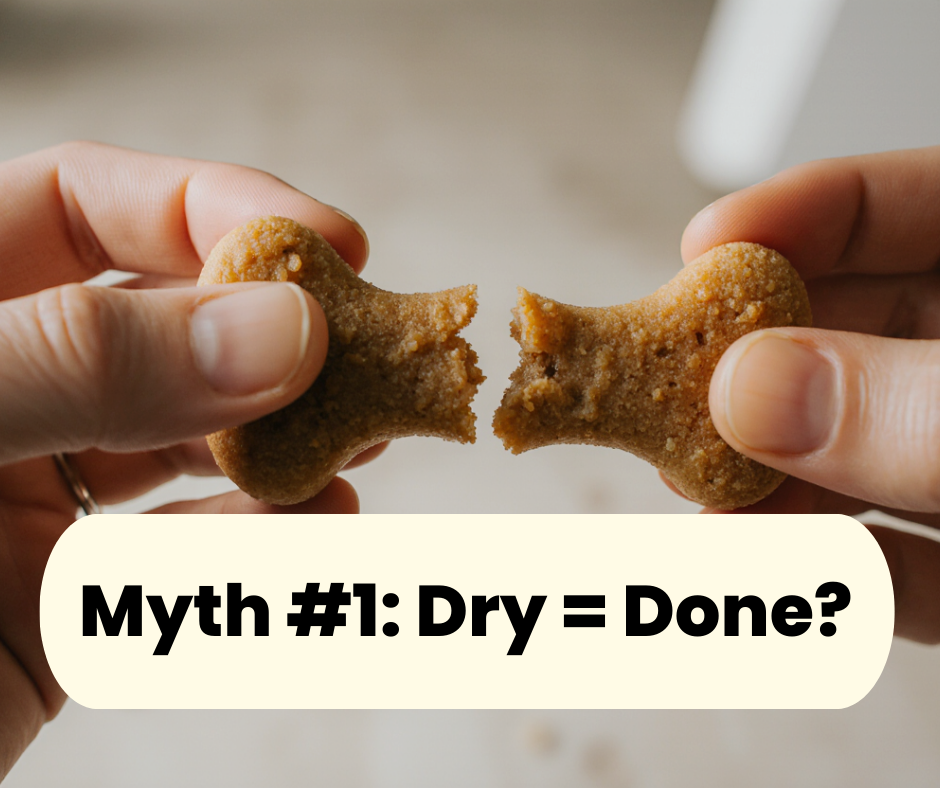
Left: Mold’s worst nightmare? Nope — it’s your worst nightmare. Right: The mold-free perfection your customers (and their pups) deserve.
🛑 Myth #1: “If It Feels Dry, It’s Done”
The Truth: A treat can feel dry on the outside but still hold hidden moisture inside — perfect for mold growth.
The Fix: Bake thoroughly at 300°F–325°F to cook through, then dehydrate until treats pass the “snap test” (they break cleanly, not bend).
I use these exact non-stick, food-safe baking mats in my own kitchen. They help every batch bake evenly and release cleanly. See them here on Amazon.
Feels dry? 👀 Think again — hidden moisture is mold’s best friend!
🛑 Myth #2: “Refrigeration is Enough”
The Truth: Refrigeration only slows mold — it doesn’t stop it. If moisture is trapped inside the treat, mold will still develop, just at a slower pace.
The Fix: Remove as much moisture as possible before storage.
Dehydrator Method: 125°F–160°F for 6–12 hours (depending on thickness)
Oven Method: 170°F for 4–8 hours with the door slightly open for airflow.
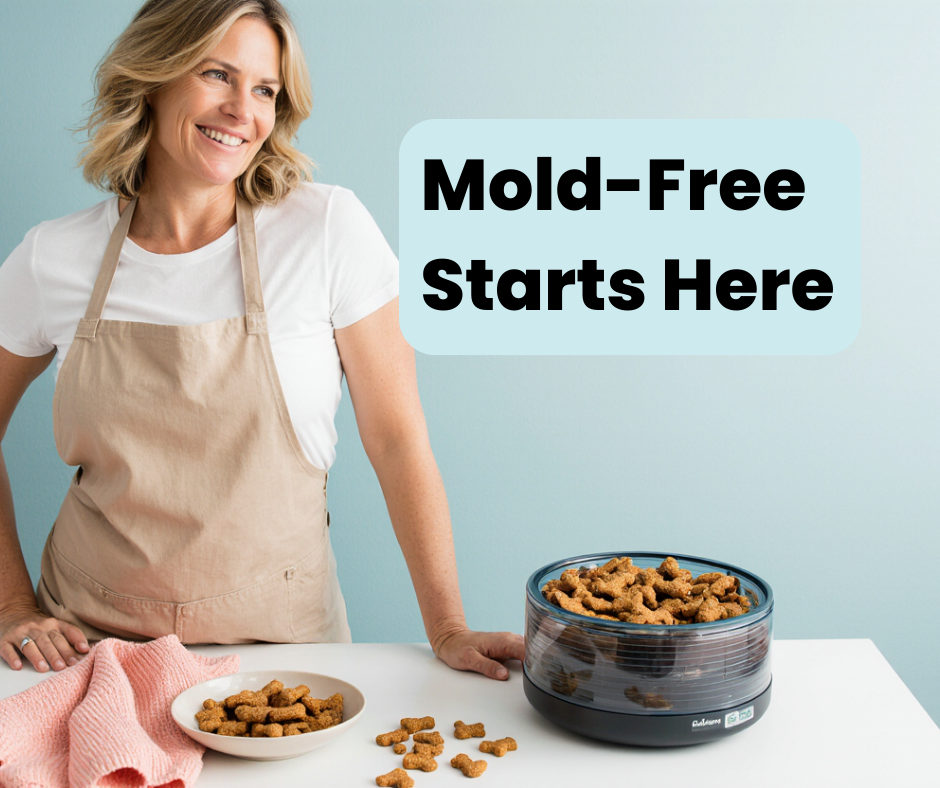
I’ve tested a lot of dehydrators, and this countertop model has been the most reliable for keeping my treats perfectly crisp and mold-free. Plus, it fits a lot of treats! See my favorite model on Amazon.
Lock in crunch and shelf life — baking first is the secret to mold-free treats!
🛑 Myth #3: “Dehydrators Are Expensive and Unnecessary”
The Truth: A good dehydrator pays for itself quickly by preventing spoiled batches, protecting your reputation, and letting you ship confidently.
The Fix: Start with a reliable mid-range dehydrator if budget is tight — you’ll save more in the long run by avoiding waste.
If you want your treats to arrive just as fresh as the day you made them, vacuum-seal storage bags are a game-changer. They lock out air and moisture, keeping every batch crisp for weeks. Check them out on Amazon.
Prevent mold before it starts — because your hard work should last.
🛑 Myth #4: “All Ingredients Have the Same Shelf Life”
The Truth: Ingredients like pumpkin, banana, and meats introduce more moisture and can shorten shelf life drastically. These treats require longer dehydration times to be mold-safe.
The Fix: Track drying times by ingredient type and thickness. For fresh produce or meat-based treats, test dryness twice before packaging.
Moisture levels vary by recipe — nail the right drying time and keep every batch mold-free.
🛑 Myth #5: “Any Airtight Container Will Keep Mold Away”
The Truth: If moisture is sealed in, you’ve just created a humid mold incubator.
The Fix:
Dry completely — Use a dehydrator or oven until treats pass the snap test.
Cool fully — Let treats reach room temperature so no condensation forms inside packaging.
Package smart — Use airtight bags or containers, and add food-safe silica gel packets for extra moisture control.
💡 Why Silica Gel Packets Are a Baker’s Secret Weapon:
Absorb any trace moisture that sneaks in.
Extend shelf life, especially in humid climates.
Keep treats crisp for weeks.
Pro Tip: Store finished packages in a cool, dry place away from direct sunlight.
📌 Use food-safe silica gel packets inside each bag or container — they work silently in the background to keep moisture levels low. The 1 gram packets work great. Just pop one in each bag before you add the treats.
Package your treats with pride using these biodegradable treat bags — sturdy, food-safe, and kind to the planet.
Dry completely, cool fully, then package — the golden rule for mold-free dog treats.
Extra Pro Tips for Consistent, Professional Results
Slice evenly – Even thickness means even drying.
Don’t overcrowd trays – Air needs space to circulate.
Cool before sealing – Warm treats create condensation inside packaging.
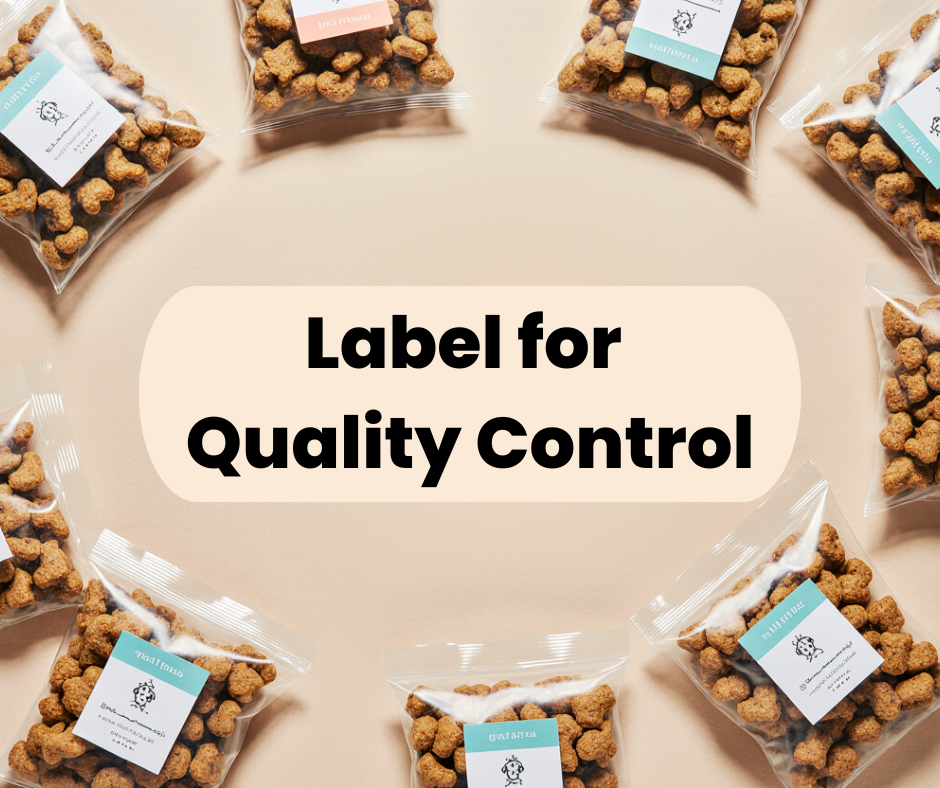
Label batches – Track drying times and shelf life for quality control.
Add silica gel packets – Especially helpful for humid climates or when shipping.
Labels aren’t just for looks — they track drying times, ingredients, and batch dates so every bag meets your quality standards.
Dog Treat Pricing Toolkit
If you’re testing your pricing during your soft launch, this tool is a lifesaver.
Get the Dog Treat Pricing Toolkit + Wholesale Success Guide →
How to Mold-Proof Your Dog Treats
Moisture = mold.
Bake first, then dehydrate until they snap.
Store airtight only after cooling.
Silica gel packets add an extra layer of mold prevention.
Choose tools that protect your hard work.
📢 Your Turn! Have you ever lost a batch to mold? Drop your story in the comments so we can troubleshoot together.
🐾 Join the FREE Dog Treat Bakers Facebook Group!
✔ Connect with like-minded dog treat bakers
✔ Get free business tips and strategies
✔ Learn from other successful treat makers
✔ Ask questions and get support from the community
📢 Join the FREE Dog Treat Bakers Facebook Group today! → Click here to join
Stay mold-free my friends!
Kara 🧡


